
Prerequisites
Before you begin, ensure the following:- WooCommerce Plugin Installed : Your WordPress store must have the WooCommerce plugin installed and activated.
Installation Steps
Install Gale HSA & FSA Payments Plugin
- Install Gale HSA & FSA Payments Wordpress Plugin
-
Once the installation is complete, Activate the Plugin.

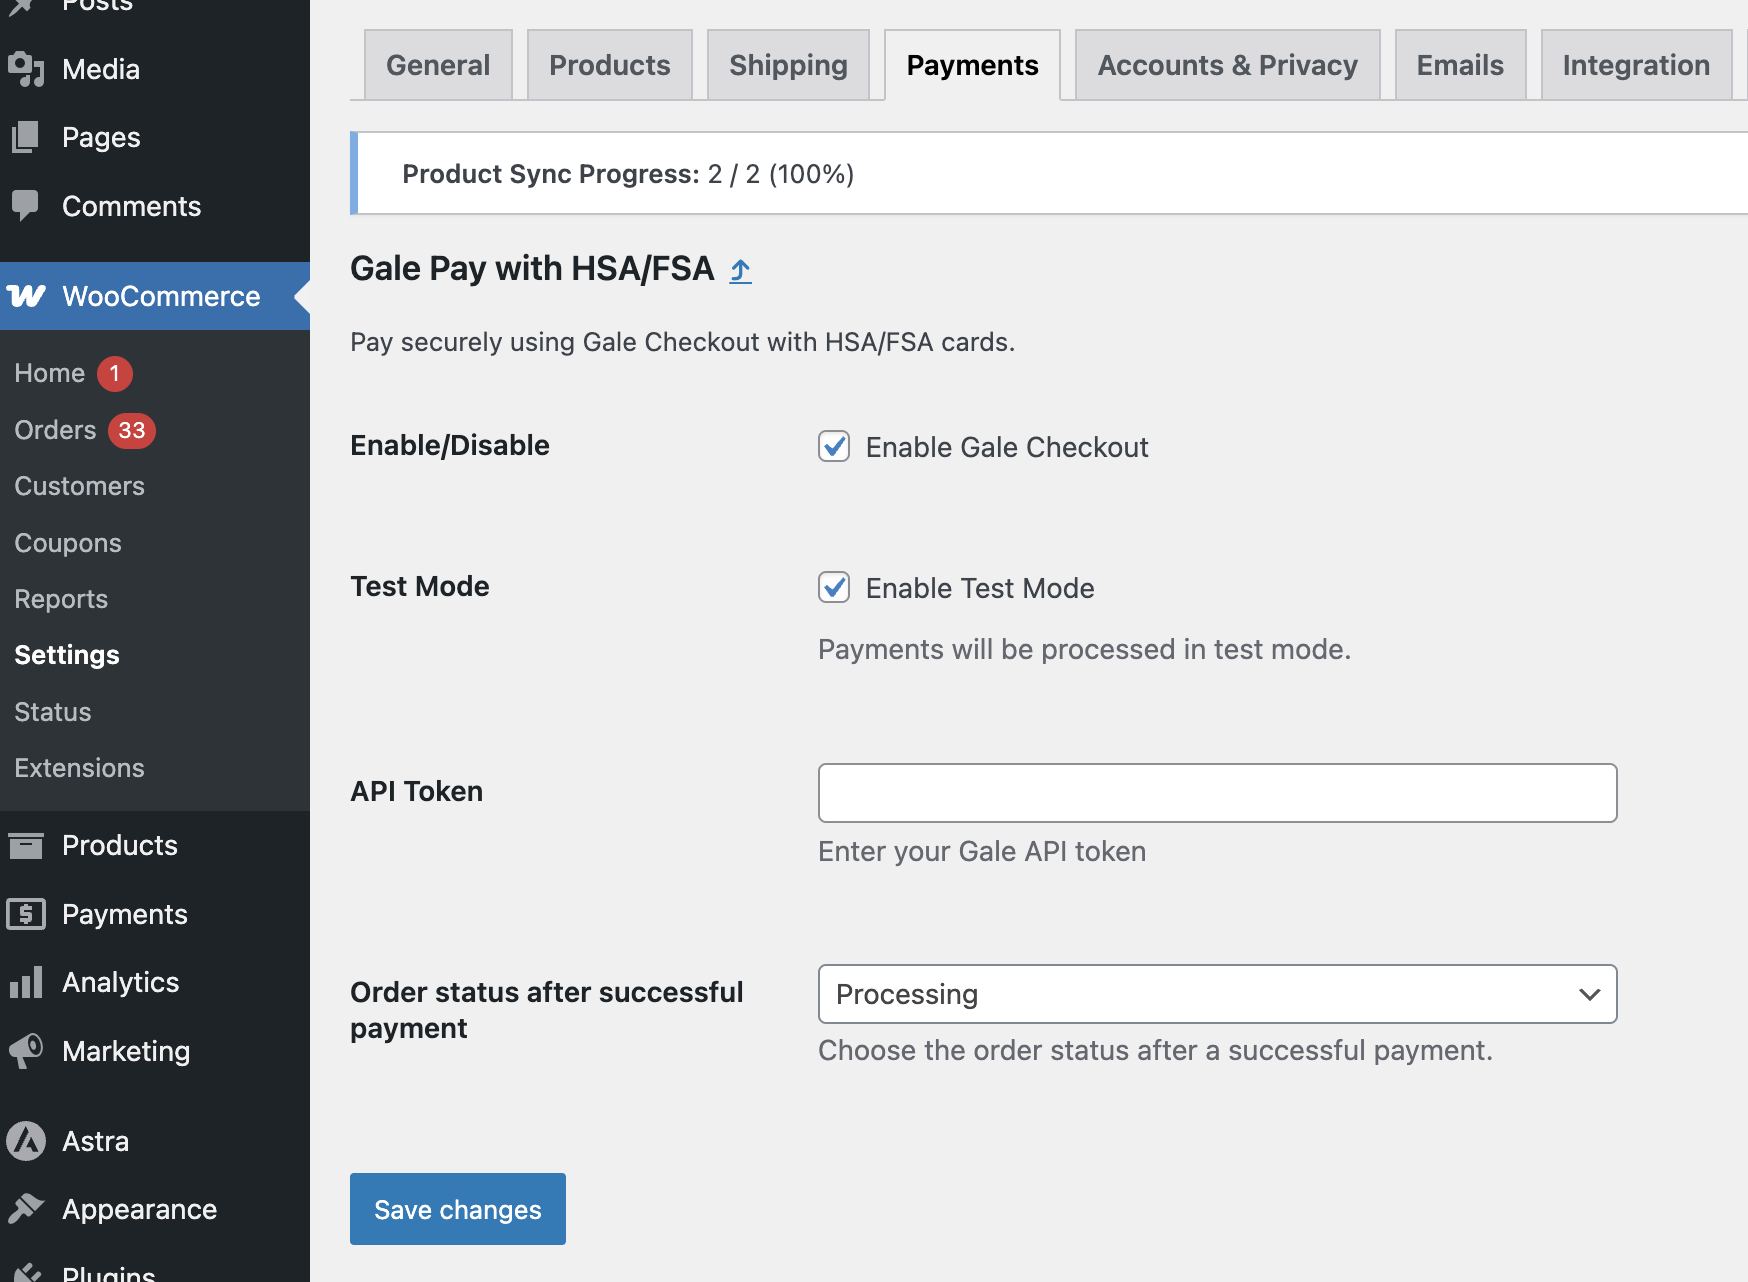
Configure Gale Payments Settings
- Navigate to
WooCommerce > Settings > Payments - Locate the Gale Payments option and click
Manage

- Enter your API Key provided during signup.
- Enable Test Mode to verify functionality before going live.
- Please select the order status from the dropdown menu after a successful payment — we recommend choosing Processing.
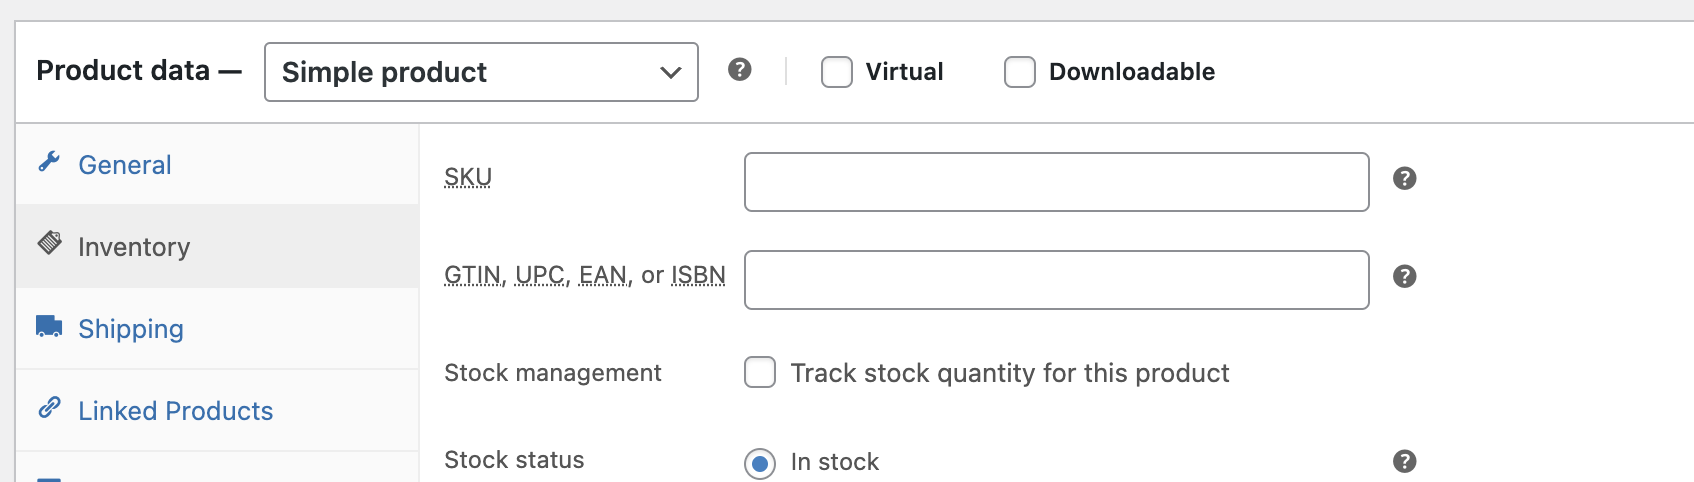
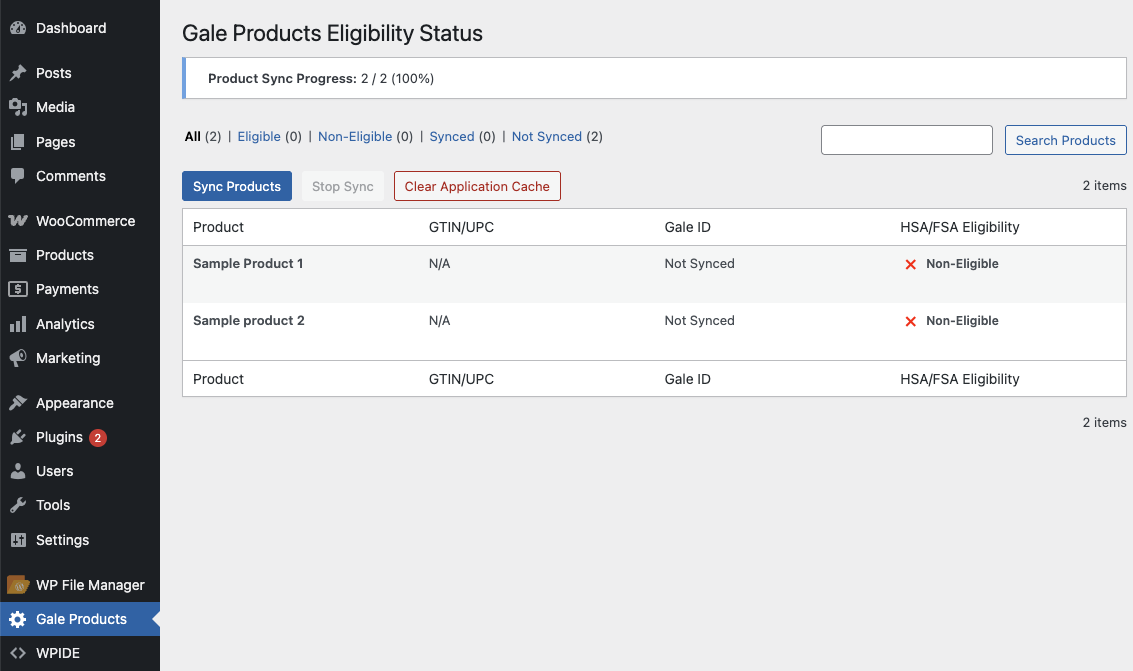
Sync Products with Gale & Verify Eligibility
- Go to Products Section in WooCommerce.
- Add or Edit a New Product.
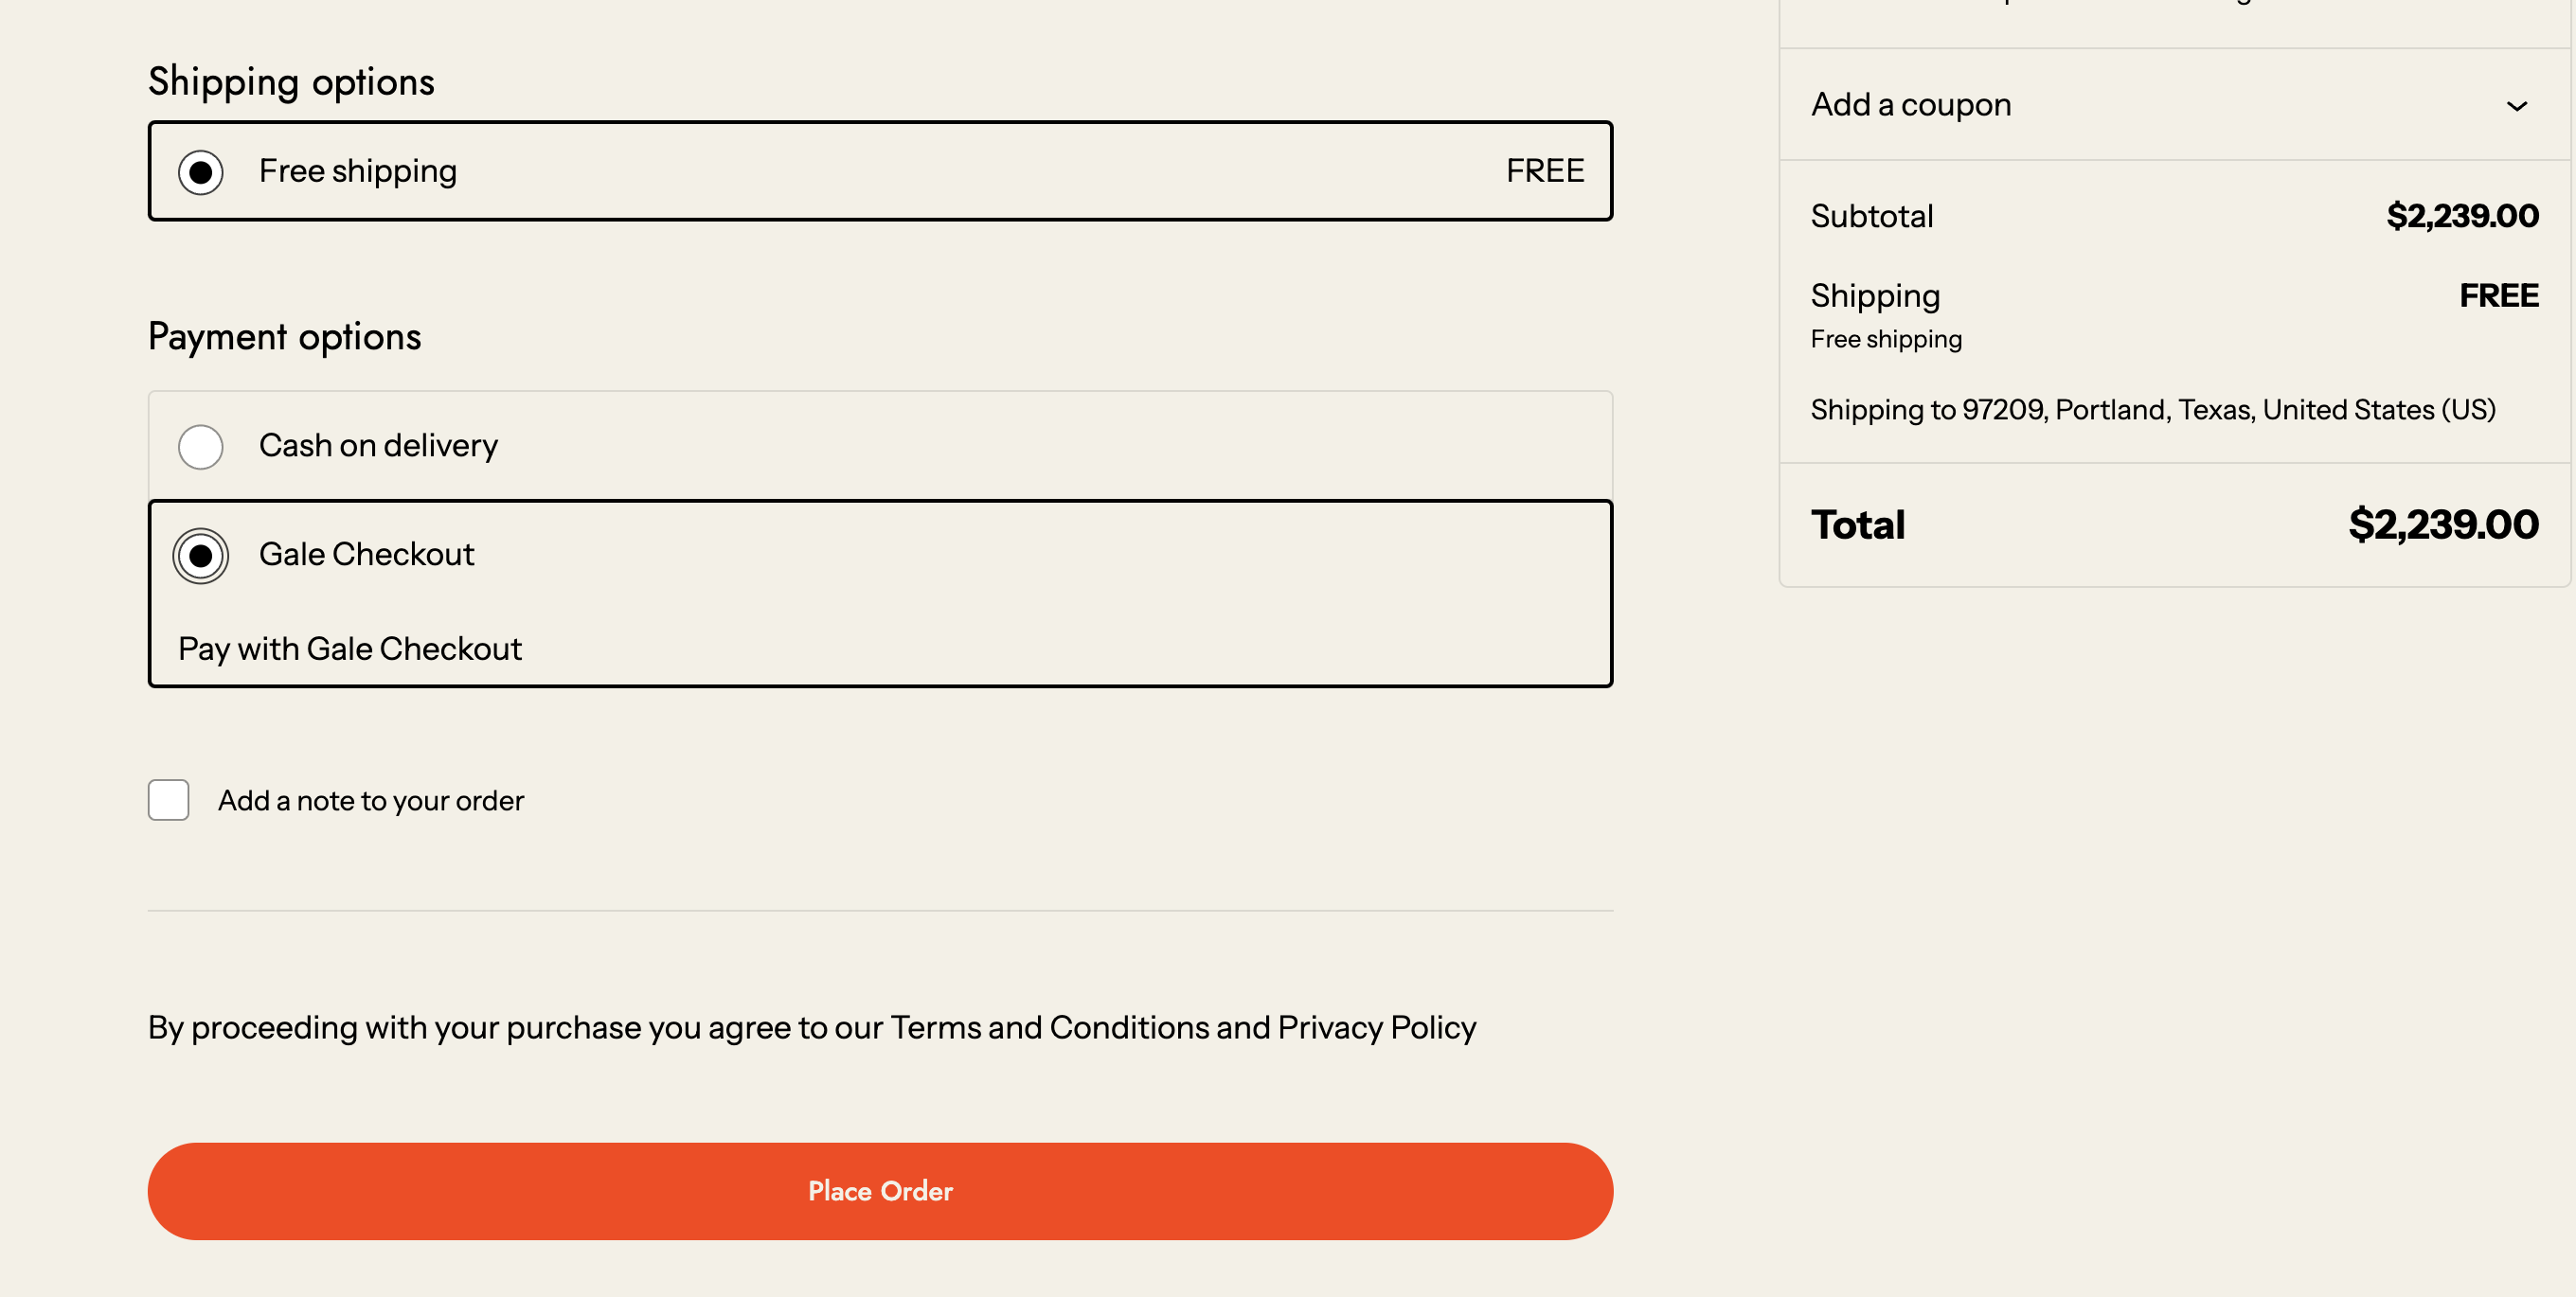
Testing the Integration
- Add a product to your WooCommerce store.
- Proceed to checkout and select Pay with HSA/FSA.
- Complete a test transaction using these Test Cards
- Verify the transaction appears in your WooCommerce orders.

Next Step
Onsite Messaging
Learn how to add HSA/FSA Eligible product messaging widgets to WooCommerce using shortcodes.
Test Cards
Test Cards
Use these cards only when Test Mode is enabled.
Troubleshooting
- Plugin Not Visible : Ensure WooCommerce is installed and updated to the latest version.
- API Key Issues : Double-check your API Key for accuracy.
- Test Mode Transactions Failing : Ensure you are using valid test credentials provided by Gale Payments.
Need Help?
If you encounter any issues, contact our support team at support@withgale.com. We’re here to help!By completing these steps, your WooCommerce store is now fully equipped to accept HSA/FSA payments with Gale Payments!